Source control is an integral part
of software development, and a good source control tool not only increases
developer productivity but also helps in managing your software development
cycle more effectively. Recently on Jan 2013 Microsoft announced they have started supporting Git server. Using Git instead of TFS is a great option simply because for TFS 2012 you will need a dual core system with 10 GB RAM and 300 GB Hard disk space minimum. For someone like me, such huge resources in a small company is not a viable option. In comes Gitstack server with its easy to use web interface and extremely light software which I installed on a Windows 2008 VM (2 GB RAM and 40 GB disk space) on my ESXi host.
Now here are the steps to follow if
you want to quickly jump to using Git and GitStack for your Visual Studio projects:
1. Download and install Git for
Windows (the latest version at this time is: Git-1.8.1.2-preview20130201 from http://git-scm.com/ and install it on your client machine which has the Visual Studio Projects.
2. Download Git Extensions http://code.google.com/p/gitextensions/.
Git Extensions will help you use Git without using command-line interface and
also allows you to integrate Git with VS 2008/2010/2012. Make sure you check
the option of installing KDiff editor for merge-compare. Otherwise you can
download it separately from: http://sourceforge.net/projects/kdiff3/files/. While installing Git be aware of line ending conversions. There is a nice explanation here.
The new version contains git server
so you don't need to take step 1.If Git Extensions don't have the latest version then go ahead download the latest version.
3. Apply
Visual Studio 2012 Update 2 CTP. Install Git Source Control Provider for
Visual Studio: http://visualstudiogallery.msdn.microsoft.com/63a7e40d-4d71-4fbb-a23b-d262124b8f4c for VS2008.
VS 2010, VS 2012 users, it is
recommended to install Git Source Control Provider within Visual Studio by
selecting Tools | Extension Manager.Run Visual Studio. Go to Tools | Extension Manager,
search online gallery for Git Source Control Provider and install.
4. After installing Git SCC, restart
VS, and then go to Tools -Options -Source Control, and select Git
Source Control provider in the drop down.
5. Create a new Visual Studio
project or you may already have one. This project will need to get "pushed" to the new repository
that you will create on GitStack. Right click on the Project and select create git
repository. This will create a .git folder to track the changes.
This is a Personal repository that will be created in your solution folder and the files in solution explorer will be marked as new. You should see Git Pending Changes (master). If you don’t, right-click anywhere in Solution Explorer and select: Git Pending Changes.
This is a Personal repository that will be created in your solution folder and the files in solution explorer will be marked as new. You should see Git Pending Changes (master). If you don’t, right-click anywhere in Solution Explorer and select: Git Pending Changes.
At the moment, we’re working with a Personal
Repository. If we want to create a Central Repository we need to do it via Git
Extensions. You can select from the menu bar: Git –> Initialize new
repository and a window will popup. Select the target folder, specify: Central
Repository and click: Initialize.
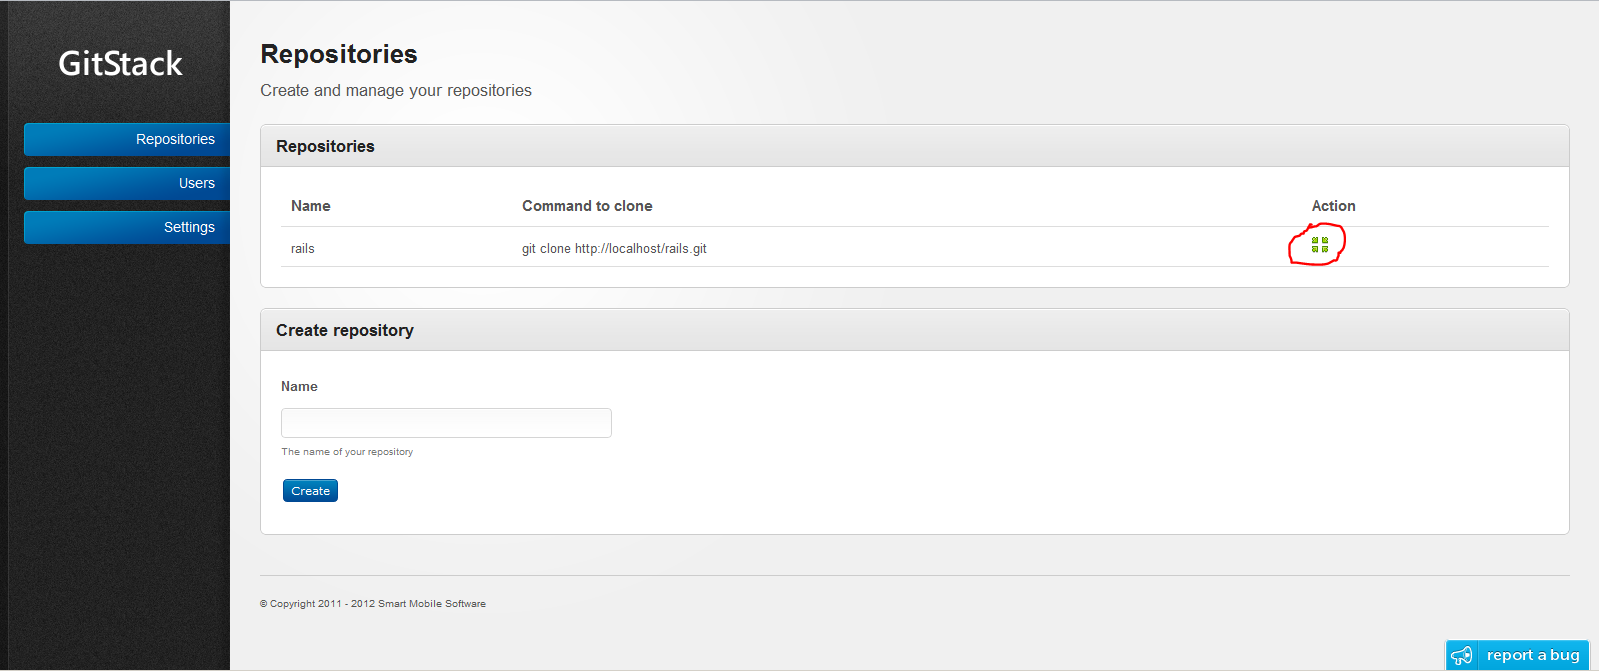
6.Now copy the Project folder from the client machine to the
GitStack server in C:\GitStack\repositories. Login to Gitstack web server and
import the project. This will be a empty repository. Add a user to
give access to it. In case you want more info on how to install and configure GitStack follow their documentation http://gitstack.com/category/documentation/.
7. Once the repository has been
initialized, go back to the "Git" main menu in VS header, and select "Manage
remotes" option. In the Remote repositories tab, enter your repository
name, and in the URL field, enter the HTTP address for example
http://user01:password@192.168.1.85/MvcApplication3.git and click on save changes.
8.A prompt
window will open up asking you to for the default push/pull behavior. Click OK,
and close this window.
9. Now you need to
"commit" and "push" your project files into the remote
repository on GitStack. To do this, right click your VS project (or solution if
you have multiple projects), then select Git -> Commit. To upload your
changes, select Push. You will see the standard "locks" in all your
project files in VS. Now you can even work in check-in-check-out mode.
Working with existing repositories
on GitStack
10. If you already have an existing
repository on GitStack, and you just wanted to download it locally and get
started, then open VS2012 and select Git ->Clone repository. Enter the
repository HTTP address (you can get this from your GitStack repository page),
select the local destination folder where the files will be downloaded to. Add
the subdirectory name where the code will be downloaded. Note that for HTTPS/HTTP
auth, if you want to avoid entering username and password each time you do a
push/pull, the repository URL should be in this format: https://username:password@urIPaddress/username/repositoryname.git
11. Git will download all your files
from the remote repository, and you can immediately start checking out the
code!